前言 本文详细记录使用hexo搭建并部署个人博客的全过程。
原文地址:https://xuedongyun.cn/post/46487/
创建hexo项目 1 2 3 4 npm install hexo-cli -g hexo init blog cd blognpm install
至此hexo就已搭建好了,本地4000端口即可访问 部署到GithubPage 先在github上新建立一个名为”用户名.github.io”的公开仓库 需要安装一个hexo上传github的插件 1 npm install hexo-deployer-git --save
修改hexo配置文件 _config.yml指定仓库 1 2 3 4 deploy: type: git repo: https://github.com/pigeon-dove/pigeon-dove.github.io.git branch: master
现在你可以很方便的将项目部署到github了,以下是几个常用命令 1 2 3 4 hexo deploy hexo server hexo generate hexo clean
我们可以通过hexo server在本地预览我们的网站 也可以先hexo generate将项目打包到/public目录,再hexo deploy推送到github仓库中 问题:GitHub Page访问404
我这里遇到了访问pigeon-dove.github.io报404的问题,最后发现是没有开启GitHub Pages 需要在仓库中点击about旁边的齿轮按钮进入设置,然后在Edit repository details中勾选”Use your GitHub Pages website” 现在你可以通过username.github.io访问你的网页了 更换主题 1 2 3 cd blognpm install hexo-theme-redefine@latest git clone https://github.com/EvanNotFound/hexo-theme-redefine.git themes/redefine
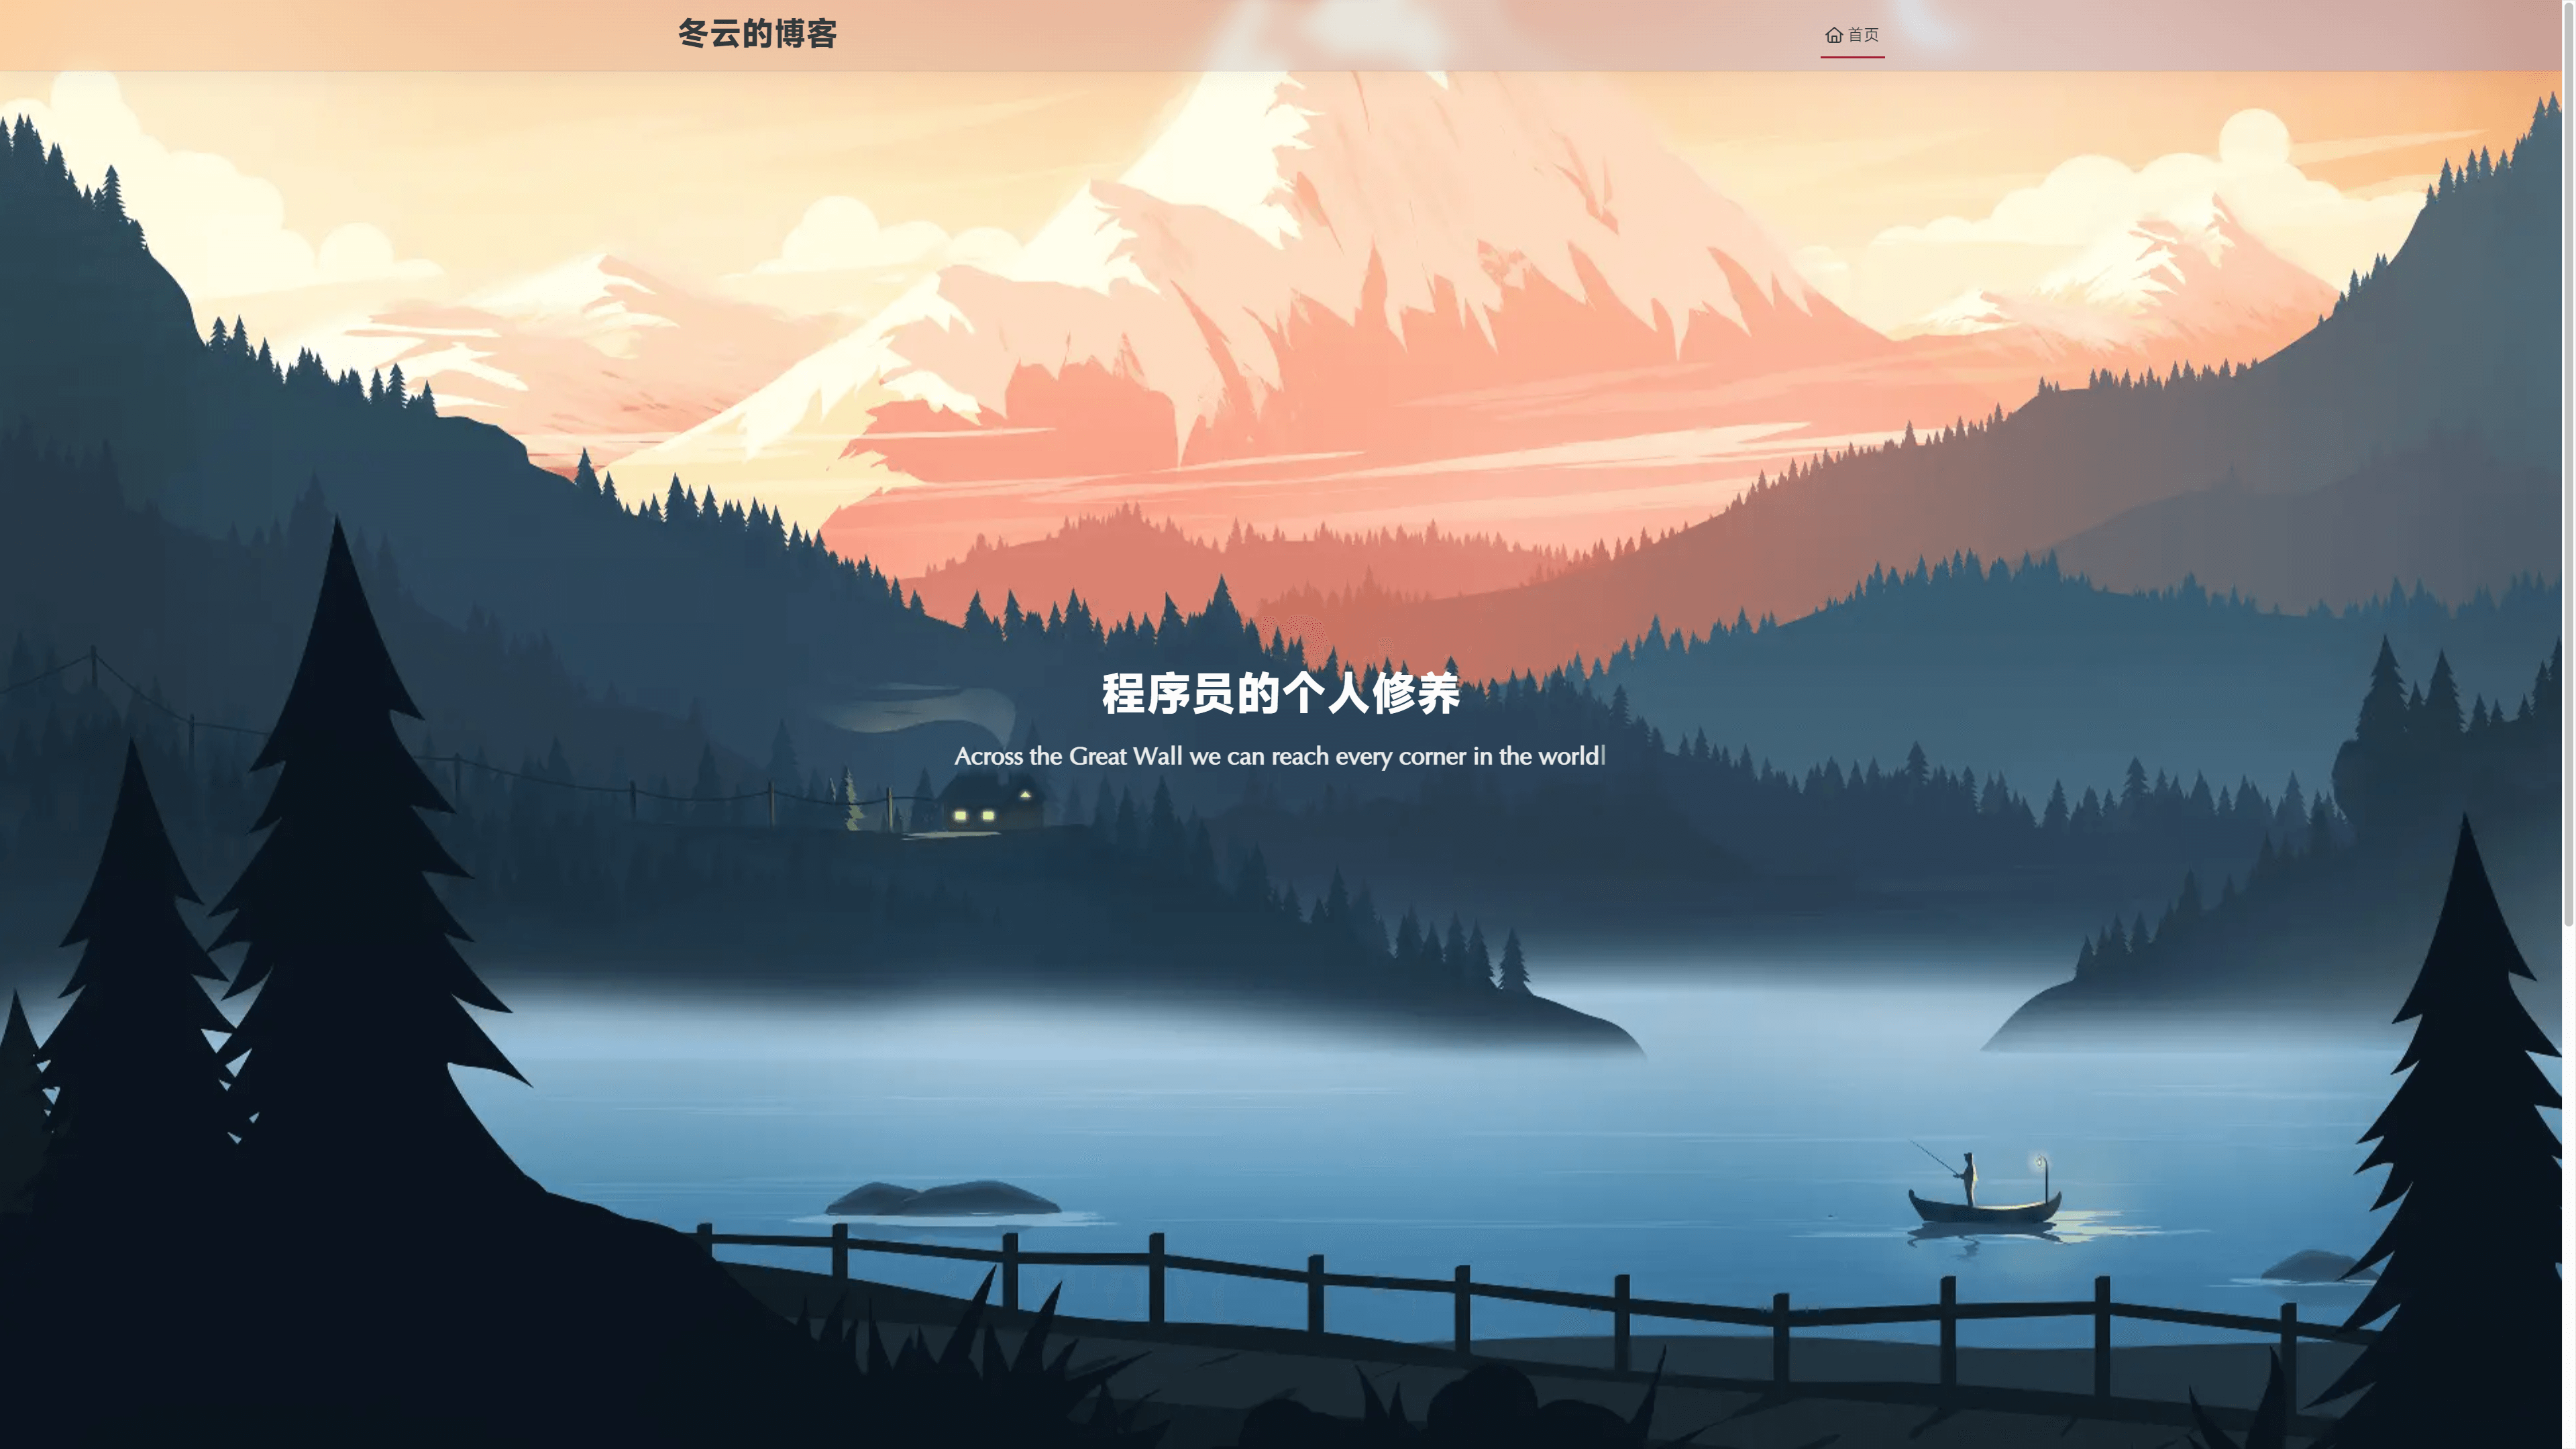
按照要求,在项目底层目录创建 _config.redefine.yml配置文件,其中我的配置文件如下 1 2 3 4 5 6 7 8 9 10 11 12 13 14 15 16 17 info: title: 冬云的博客 author: 布鸽不鸽 url: https://pigeon-dove.github.io defaults: avatar: /images/head.jpg favicon: /images/favicon.ico home_banner: title: 程序员的个人修养 subtitle: text: ["Hello World!" , "Across the Great Wall we can reach every corner in the world" ] typing_speed: 50 image: light: /images/bg.jpg footer: start: 2022 /4/19 20 :56:00
写文章 hexo会在 source/_posts中创建md文件 使用markdown软件正常写文章即可,个人强烈安利 typora这款软件,写完部署即可 关于图片处理 hexo中一个比较简单的处理图片存储的方式,就是把所有需要的资源放在 /source/images文件夹中,然后在markdown中引用 但这样显然不方便管理,我们可以在 _config.yml中打开文章资源文件夹功能 这样每次创建文章时,就会有一个和文章一样名字的文件夹。图片放置其中,markdown通过相对路径引用即可 typora中图片自动存储
如果你使用typora编辑markdown的话,可以在文件->偏好设置->图像中,设置插入图像时复制到指定路径,将路径修改为./${filename} 这样在写文章时,可以很方便的随时粘贴图片 此时还有一个问题,typora中图片 需要写前缀,但是hexo中则是 。当然,其实可以写完文章后搜索,全部替换。但我个人还是更推荐使用图床管理所有的图片,让markdown文件成为纯文本文件。我之前写过一篇图床的相关博客,可以参考:搭建个人图床 结束
参考文档 https://hexo.io/zh-cn/docs/
https://redefine-docs.ohevan.com/getting-started